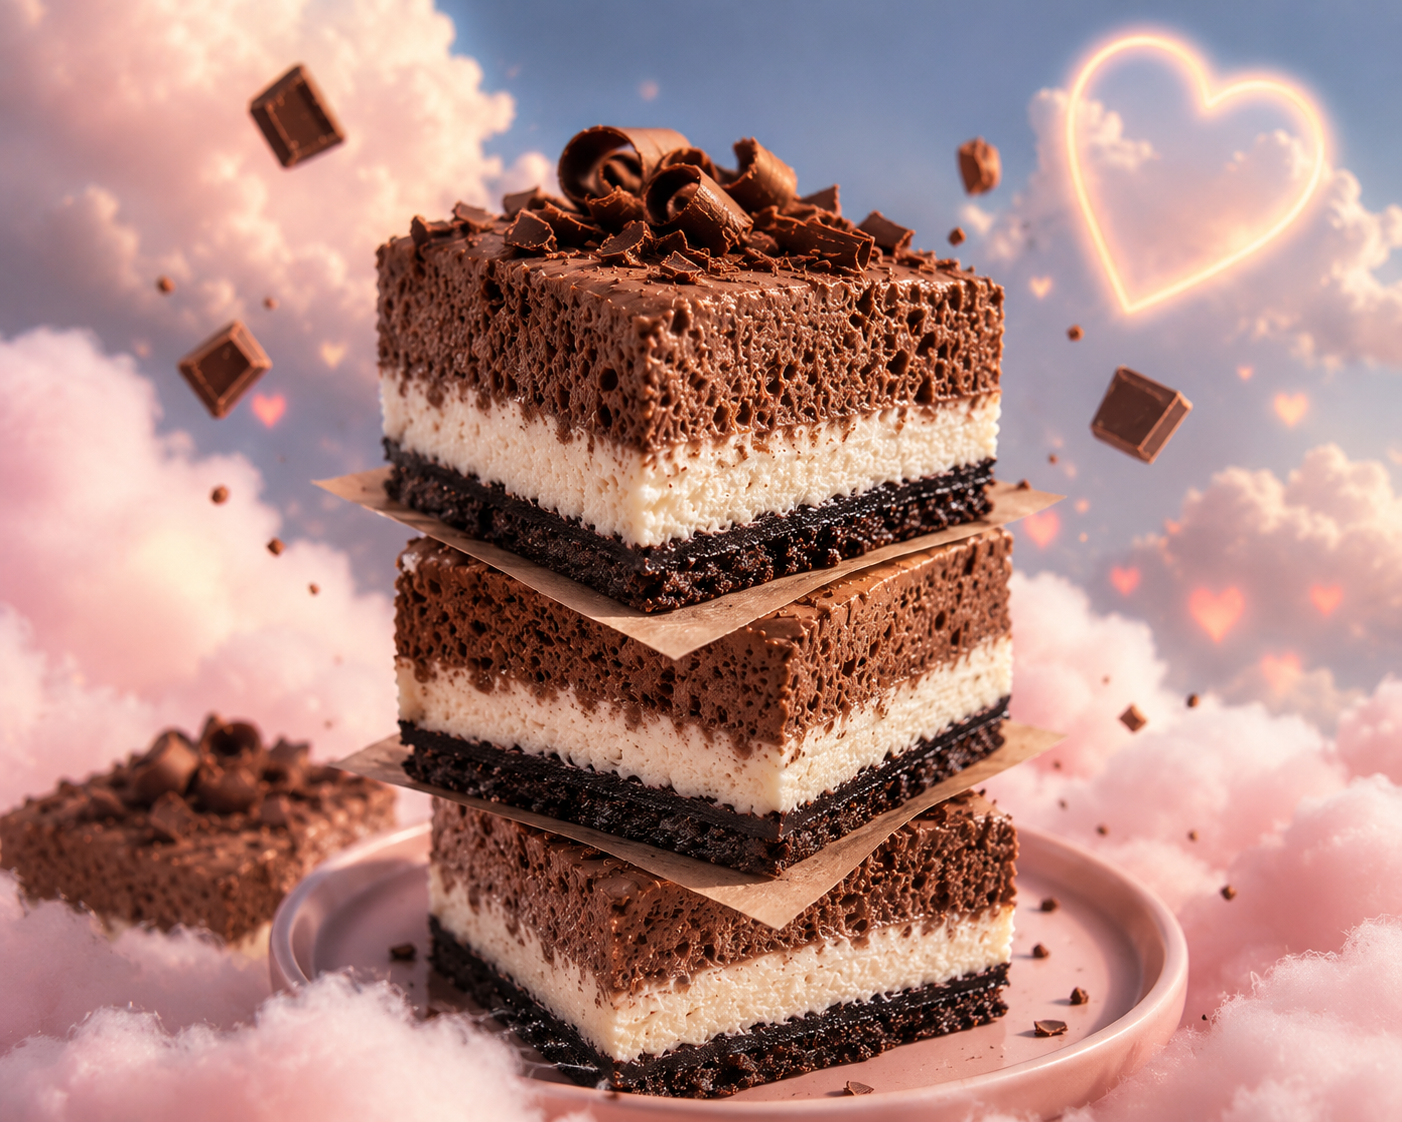
There’s something truly magical about a dessert that requires no oven yet tastes like it came straight from a pastry chef’s kitchen. These no‑bake chocolate cheesecake bars are that dreamy treat – a symphony of textures and flavours that feels like a warm hug on a plate. The crunchy, chocolate‑cookie crust cradles a silky, vanilla‑kissed cream‑cheese layer, all crowned with a glossy, deeply chocolatey mousse‑like topping. Each bite is impossibly smooth, rich without being heavy, and utterly satisfying.

What makes them even more wonderful? They come together in just 20 minutes of active work, leaving the fridge to do all the magic while you go about your day. Whether you’re surprising a loved one, celebrating a milestone, or simply treating yourself to a moment of pure bliss, these gorgeous layered bars are guaranteed to bring smiles all around. Elegant, effortless, and endlessly delicious – this is the dessert your heart (and your taste buds) have been craving.
Ingredients
For the Crust
- 3 tablespoons (43g) unsalted butter, melted
- 18 to 20 chocolate sandwich cookies (about 227g)
- A small pinch of fine salt
For the Filling
- wo 8‑ounce blocks (453g total) cream cheese, brought to room temperature .
- ¾ cup (86g) powdered sugar (sift it first if you see lumps) .
- 1 tablespoon pure vanilla extract or vanilla bean paste .
- A tiny pinch of table salt
- ⅔ cup (114g) semisweet chocolate wafers or semisweet chocolate chips
- ¼ teaspoon espresso powder (this deepens the chocolate flavour without adding a coffee taste)
- ½ cup (114g) heavy cream
Method
1. Make the crust
Place the chocolate cookies and the salt in a food processor and blitz until they turn into fine, sandy crumbs. With the motor still running, pour in the melted butter in a steady stream and continue processing until the mixture looks damp and clumps together when you squeeze a bit between your fingers.
2. Press and freeze
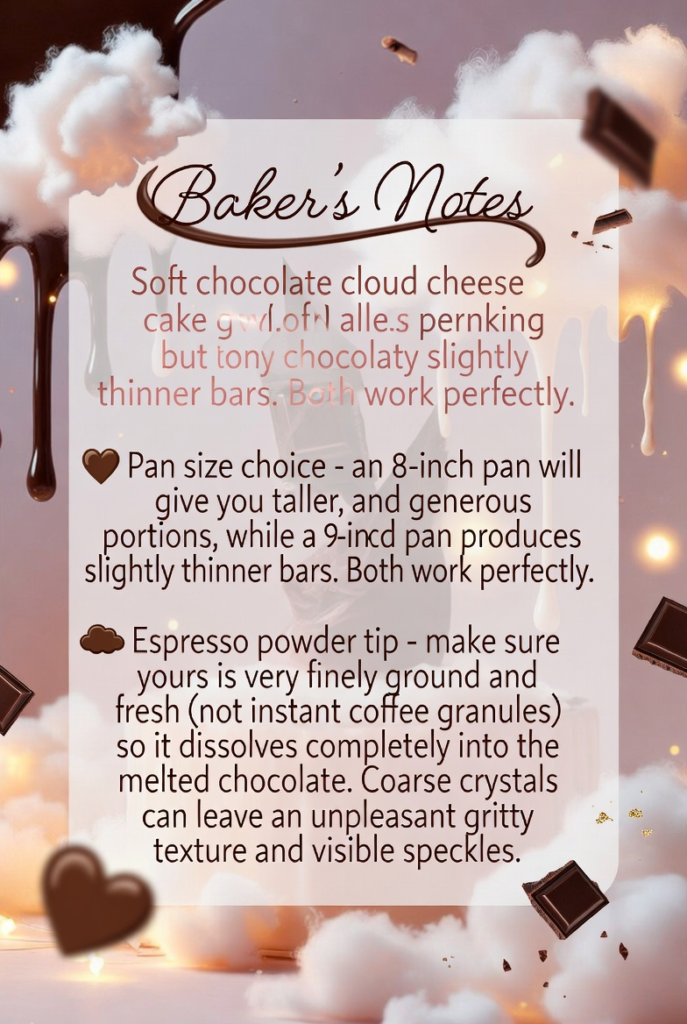
Line an 8‑inch or 9‑inch square baking pan with a parchment paper sling (leave some overhang on two sides), then lightly grease the exposed areas. Tip the crust mixture into the pan and press it firmly into an even layer using the flat bottom of a measuring cup or your fingertips. Pop the pan into the freezer for at least 1 hour (you can leave it there for up to 3 days – just cover it with foil or plastic wrap if it’s going to stay longer than an hour).
3. Prepare the cream‑cheese base
In the bowl of a stand mixer fitted with the paddle attachment (or use a large bowl with an electric hand mixer), beat the softened cream cheese, powdered sugar, vanilla, and salt together until completely smooth, scraping down the sides of the bowl occasionally. This usually takes about 3 to 5 minutes on low‑to‑medium speed.
4. Reserve the first layer
Take the pan out of the freezer. Using a small offset spatula, spread about ¾ cup (around 180g, or three level scoops with a muffin scoop) of the cream‑cheese mixture evenly over the frozen crust. Set the remaining filling aside in a separate large bowl.
5. Melt the chocolate
Put the semisweet chocolate and the espresso powder into a microwave‑safe bowl. Microwave in 15‑second bursts at 50% power, stirring well after each interval, until the chocolate is completely melted and glossy (about 1 minute for wafers, or 2 minutes for chips).
6. Combine chocolate with filling
Pour the melted chocolate mixture into the large bowl that holds the remaining cream‑cheese filling and stir thoroughly until no streaks remain.
7. Whip the cream
In the same mixer bowl that you used earlier (no need to wash it), attach the whisk and beat the heavy cream on medium‑low speed until it holds medium peaks. (If you have a very large 7‑quart mixer, the small cream volume might not whip well – in that case, use a hand mixer or simply whisk by hand.)
8. Fold together
Gently fold the whipped cream into the chocolate‑cream‑cheese mixture using a spatula, taking care not to deflate the cream, until the batter is completely uniform in colour.
9. Layer the chocolate filling
Dollop the chocolate mixture on top of the plain cream‑cheese layer in the pan, then smooth it out evenly with your offset spatula.
10. Chill until firm
Cover the pan and refrigerate for at least 8 hours, or until the bars are fully set. Once firm, grasp the parchment overhang to lift the entire block out of the pan and transfer it to a cutting board. For neat, professional slices, dip a chef’s knife in hot water, dry it thoroughly, and cut – wiping and reheating the knife between each cut keeps the edges clean and sharp.
11. Storing leftovers
Keep any remaining bars in a covered container in the refrigerator for up to 3 days. For longer keeping, you can freeze them well wrapped.